You Can’t Change The Negativity Around But You Can Get Over it The world is not ideal and neither are the circumstances that surround you. This is the problem of events happening around us. Negativity mostly comes from thinking that we just don’t have confidence in ourselves, which discourages us from doing progressive work. A problem can become an opportunity so that we can change our perspective and see the world differently. Keeping yourself away from negative situations and unwanted people can help you find the motivation to tackle difficult things. “If you win, a job well done. If you fail, you will learn a lot from the lessons. “ It is not difficult to change the lens to see things. A simple solution is to get down to business and build momentum by keeping ourselves busy and productive. It will keep you away from negative thoughts and bad situations and at the same time, you will accomplish a handful of tasks moving forward. “It’s Monday, give yourself some challenges to complete by the weekend.” Sometimes, we don’t start because we think too much. Sometimes we simply don’t take the initiative to do something because we fear the consequences. If we look at the lives of all successful people, we realize that they were all active. They pursued their dreams without worrying about the consequences. As humans, we can only give our best shot but we have no control over the outcome “Being busy is being productive.” Put your hands down and just want to do it. By being busy, you’re removing a lot of distractions from your life and getting into a positive groove. When you start to accomplish some tasks during the week, you’ll not only love your work, but you’ll love yourself. Will start loving too. Give yourself a challenge and pick a few tasks to finish the week. Start working on the harder tasks as the week progresses before moving on to the easier ones “Stop thinking, get started, get busy, and become the best version of yourself.” So, I ask you. What are you going to accomplish this week? Conclusion: As we go through life’s challenges and uncertainties, it’s important to remember that our perspective shapes our reality. By doing this we can rise above the negativity and take advantage of the positions that await. Growth is the flexibility this week. Sharing is Caring!
Author: Raj Mehmood
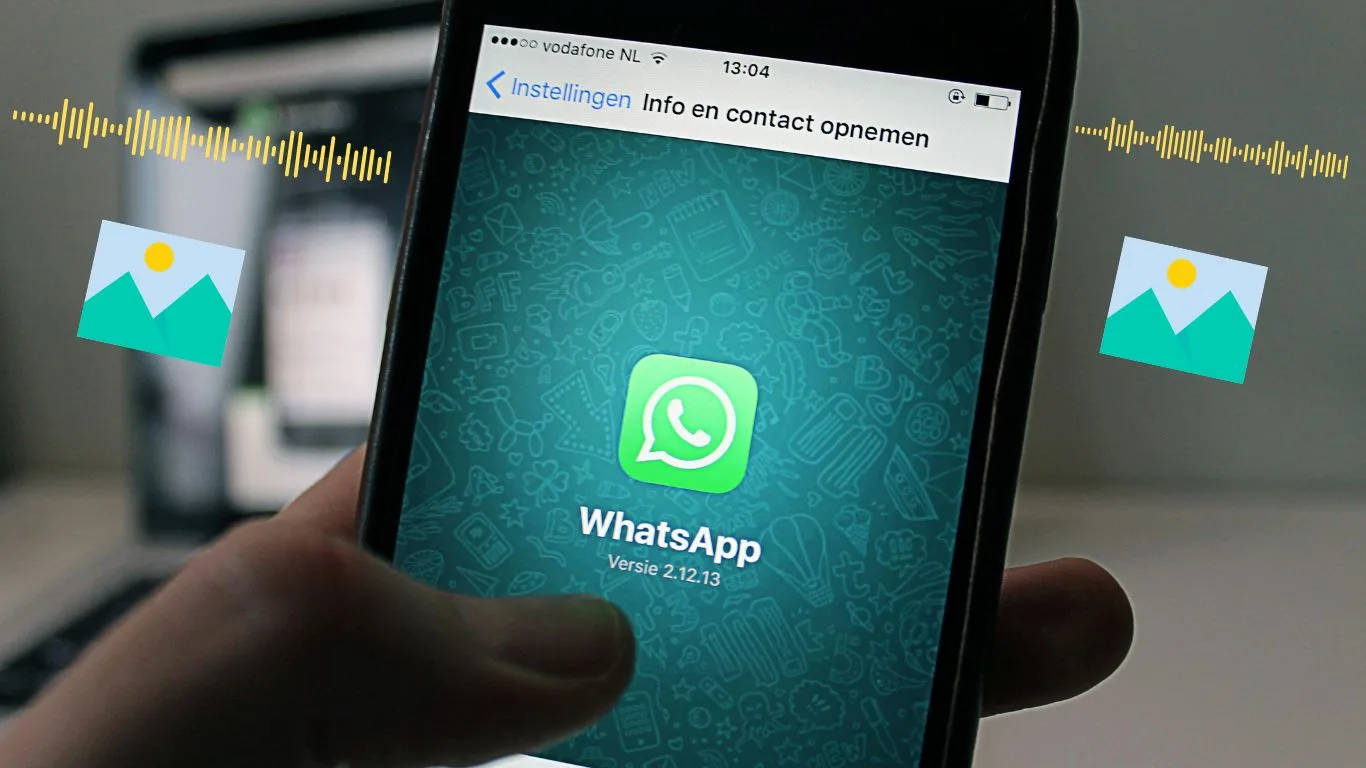
How to send and open view once media and voice message WhatsApp new where you can send photos, voice, videos and messages that disappear from a chat after the recipient has opened them once. This is known as send as view once. View once media View once videos and photos won’t be saved to the recipient’s Photos or Gallery. The won’t be able to forward, copy, or share them. Recipients also won’t be able to take a screenshot or screen recording of your view once media. It’s still possible for someone to take a photo or video of the media, for example with a camera or another device, before it disappear. Send view once media Open and individual or group chat. Tap on share, then tap: Camera to take a new photo or video with your camera. or Open Gallery to select an existing photo or video from your device. Tap disappear icon, When this icon turns green, you’re in view once mode. And now Tap send button, You’ll see an Opened receipt in the chat once the recipient has viewed them media. Send view once voice message Open an individual or group chat. Tap the microphone. Swipe up to lock the recording. Tap and hold record. Tap on the Disappear option When this turns green, you’re in view once mode. Now Tap on Send Icon If the recipient has read receipts enabled, you’ll see an Opened receipt in the chat when they’ve opened your view once media or voice message. Open view once media and voice message Tap the view once message. View the photo, video, or listen to the voice message. Swipe or Tap arrow to exit the viewer. You’ll see an Opened receipt in the chat for media or voice massage you’ve already viewed. View once media won’t be saved to your camera roll. Once you exit the media viewer, you can’t view the media again. Sharing is Caring!
In this blog, we will learn how to use plugins in your WordPress website. Plugins allows to easily customize, modify, or enhance WordPress post or blog. The WordPress plugin is a software that can be uploaded to expend the functionality of the WordPress site. They add services or features to WordPress blog. Plugins are used to make your work easier. Following are the simple steps to add plugins. Step 1: On the left side bar Click on Plugins, Installed Plugins as shown in the screen. Step 2: The Following page will appears. On this page, you can view already installed plugins Step 3: Click on Plugins and then Click Add New menu as shown in the following screen Step 4: A list of plugins appears that are used in WordPress. Here you can directly install plugins from the available list or you can upload them by clicking on upload plugin. When you click on the upload plugin you’ll get the following page Click on Browse, it goes back to the page where you can select plugins from WordPress site. And if you can click on choose file you can add file from your computer files. Otherwise, you can directly choose the plugin that you need and click on Install Now as seen in the following image When you click on Install Now, the package starts to download and gets installed. Then, click on Activate Plugin to active that plugin to use in the WordPress site as seen in the following image After clicking on Activate Plugin you’ll get a message as plugin activated and you can also find the installed plugin in the list. Below the plugin-activated message, you can view a few options such as the All, active, Delete, and Update available options. When you click on Active the following page appears. Here you can view all the activated plugins. When you click on Inactive, the plugins which are available but are not activated gets displayed. You can activate this plugin by clicking Activate. When you click on Update Available, you’ll get a list of plugins that must be updated. Click on Update and you get a message as updated. Click on Bulk Actions and select any of the options. Click on the apply button to update, delete, activate or deactivate, enable auto-updates, disable auto-updates each of the plugins by checking the boxes. In Search Installed Plugins you can just type your plugin name in the text box that is already installed and click on the search installed plugin button Step 5: Click on Plugins Editor from the side bar. And the following page gets displayed This page lets you edit your plugins. A few options are explained. Select Plugin to edit: Allows you to select a plugin from the dropdown and edit it. Documentation: Allows you to select the tools from the dropdown to edit the plugin. Plugin Files. Allows you to select files from the list and edit accordingly. Finally, after editing the plugins files, click on Update file. Sharing is Caring!
WordPress Permalinks WordPress Permalinks are the permanent URLs that point to specific pages and posts on a WordPress website. They are what users and search engines use to navigate and access content on your site. The default permalinks structure in WordPress includes numeric identifiers which might be not most user friendly or SEO friendly. Example: Default permalinks might looks like this: “https://yoursite.com/?=123”. This structure doesn’t convey much information about the content of pages or posts. WordPress offers the flexibitlity to customize permalinks to make them more readable, descriptive, and optimized for search engines. This customization can be done through the permalinks settings in the WordPress dashboard Here are some common permalinks structures you can choose from: Plain:This structure includes the default query parameters, such as `https://yoursite.com/?p=123`.It’s not very user-friendly or SEO-friendly. Day and name:This structure includes the publicationdate and post name, like `https://yoursite.com/2024/02/29/sample-post/`. It provides some context but can result in lengthy URLs. Month and name:Similar to the day and name structure, but only includes the month and post name, like `https://yoursite.com/2024/02/sample-post/`. Numeric: This structure uses only the post ID, like `https://yoursite.com/archives/123`. Post name: This structure includes only the post name, making the URL concise and descriptive, such as `https://yoursite.com/sample-post/`. Custom structure: You can create your own custom permalinkstructure using placeholders for different elements like year, month, day, post name, category, and more. Choosing the right permalink structure depends on your website content and SEO strategy. In general, shorter,descriptive URLs are preferred as they are easier for usersto remember and share, and they tend to perform better in search engine rankings. Once you’ve chosen a permalink structure, WordPress automatically generates the appropriate URLs for yourpages and posts based on that structure. It also handles redirects from old permalinks to new onesto ensure that visitors and search engines canstill access your content seamlessly, even if and the URL structure changes. Sharing is Caring!
The obstacles mentioned in starting a business are false ideas. If the business is started under proper research and planning, there is a positive change in economic conditions and a 100% chance of success in business and thus every person or person can succeed like a successful business person under the procedure. Most people impose the idea of failure on themselves and that is why the idea of starting a business does not even arise in their minds. No one in the house or family is associated with the relationship due to which no support is obtained from the house or family. Many people also think that starting a business requires a lot of money which is not currently available. There is no experience in starting a business. Benefits of Own Business Complete authority over income Continuous increase in income based on personal efforts Your ideas can be implemented Lead others instead of following them Entrepreneure A legal and ethical activity undertaken for financial gain. It is called business. A business person is called an entrepreneur. An entrepreneur is a person who identifies opportunities and invests his resources, knowledge, skills, personal abilities, equipment, time, and money. After making a financial profit or loss. An entrepreneur is also called a risk taker. People living in an area have different needs, wants, and interests. Men and women who start new businesses identify these needs and wants and establish various new businesses to fulfill them. The Meanings of small Business (A): Small business means Independent Management Owner’s Invested Capital. Work Mostly at the Local Level (B): Definition of small business If the owner has direct contact with most of the staff members, including managers and key people, such a business is a small business. Sole Proprietorship and he runs the business A Business employing not more than 50 people Small Business Strategies Focus on a particular market segment Work while being part of the local population Providing personal attention Use of local natural resources There is no direct competition with larger companies The demand of a particular area or population is met Limited quantity production of a certain number of products Provision of technical repair services Providing services with personal attention Being more competitive in rapidly changing market conditions, adapting to changing conditions, and reacting quickly Reasons to be interested in Small Business Small Business owners are a major political pressure group whose voice and demands cannot be ignored A large number of ordinary people are involved in small business enterprises. Sometimes Employees and owners of small businesses are less organized and less represented in labor organizations. Small businesses provide many employment opportunities. Small businesses reduce poverty and contribute to development. Sharing is Carring!
In this blog, you will be able to understand the WordPress media settings. In this settings section, you can change the size of images and upload them by keeping the pixel quality of the images you want. Thumbnail Size: We can change the appearance of the image we putting a thumbnail. Does he crop or not? You can check or uncheck it. Medium size: it has a max width and height of 300 which can be changed as you like. Large Size: it has a max width and height of 1024 which can be changed as you like. After that click on the check option is given that files that are uploaded should be kept on a month and year basis folder, after doing this you have to click on the save changes button. Sharing is Carring!
Google is rolling out an experimental feature in Google Maps that leverages AI to assist users in finding nearby local companies. Exploration of AI Driven The new tool analyzes the Google Maps database of over two hundred fifty million place ratings, reviews, images, and other data using big language models. Google Maps will offer tailored suggestions for nearby local companies restaurants events and activities whenever you type a conversional search query. If you ask Maps to propose “places with a vintage vibe in San Francisco,” for instance, it will provide flea markets, record stores, and apparel boutiques. The outcomes are arranged according to your criteria, complete with photographs and a summary of the key points. Google claims that the technology is useful for organizing impromptu or flexible travel plans. You can ask for “activities for a rainy day” and get inside possibilities based on the weather conditions the right way. The feature considers group dynamics as well. To view carefully chosen recommendations for kid-friendly venues like indoor playgrounds, arcades, and children’s museums, families can ask for “options for kids Trial Program for Early Access With Local Guides Google is asking a select group of local Guides for input on this early preview. Before a larger release, their feedback will assist in shaping AI Technology. With this launch, Google taking another step toward revolutionizing how consumers discover and interact with local businesses in Maps by incorporating generative AI. Google hopes to deliver highly customized suggestions that cater to any requirement or interest by merging its vast language models with maps’ extensive database. Consequences For Local Search The effects on local Search and customer discovery may be profound, possibly increasing the amount of quality traffic that goes to niche companies or lesser-known events and attractions. Businesses may need to optimize web content in new ways to rank for conversational searches and make use of the technology as Google continues to improve its AI skills.
In this Blog, we will study about discussion settings in WordPress. WordPress discussion setting can be defined as the interaction between the blogger and the visitors. These setting are done by the admin to to have a control over the posts/ pages that come in through users. Following are the steps to access the Discussion Setting: Step (1): Click on Setting -> Discussion option in WordPress. Step (2): The Discussion Setting page is displayed as shown in the following image. Following fields are seen in Discussion Settings. Default Article Setting: These settings are default to the new pages you create or new posts. This Contains three more setting they are: Attempt to notify any blogs linked to from the article: When you publish articles then it sends a notification (sends pings and trackback) to other blogs. Allow link notifications from other blogs (pingbacks and trackbacks): Accepts pings from other blogs. Allow people to post comments on new article: You can Allow or Disallow other people to comment on your article using this setting., You can change the setting as per your will for individual articles. Other Comment Settings: This setting has the following options: Comment author must fil out name and email: When you check this box, it is mandatory for visitors to fill their name and email address. Users must be registered and logged in to comment: If you check this box, only those registered visitors can leave comments, if not checked anyone can leave any number of comments. Automatically close comments on articles older than days: This option allows you to accept comments only for a particular time period as per your wish. Enable threaded (nested) comments: When you check this option, visitors can reply or have a discussion and get responses. Break comments into pages with top level comments per page and the page displayed by default: If your pages are getting a lot of comments then you can split them into different pages checking this box. Comments Should be displayed with the comments at the top of each page: You can arrange the comments in the form of ascending or descending order. Email me whenever: This Setting contains two options namely: Anyone posts a comments: When you check into this box, the author gets an email for every single comments that is posted. A comment is held for moderation: This is used in case you do not wait your comment to be updated before it’s moderated by the admin. Before a comment appears: This setting allows how your posts are controlled. There are 2 more settings as followed: Comment must be manually approved: If you check this box then only the approved comments by the admin can be displayed on the posts or pages. Comment author must have a previously approved comment: This can be checked when you want to approve a comment of an author whose has commented and his email address matches the email address of the previous posted comment. Otherwise the comment is held for moderation. Comment Moderation: Contain Only a specific number of links that are allowed into a comments. Comment Backlist: You can input your own spam words which you do not want your visitors to enter into the comments, URL, email etc.; later it would filter the comments. Avatars: Avatars is a small image that displays at the tip right hand corner of the dashboard screen beside your name. It is like your profile picture. Here you have a few more options where you can set your avatar for WordPress Site. Avatar Display: It displays your avatar vesides your name when it is checked. Maximum rating: You have a four other options of avatars you can use. They are G, PG, Rand X. This is the age section where you select according to which type of audience you want to display your posts. Default Avatar: In this option there are few more types of avatars with images; you can keep these avatar according to your visitors email address. Step (3): Click on Save Changes button to save the changes.
In this blog we will study about Reading Settings in WordPress. Reading settings is used to set the content related to the front page. You can set the number of post to be displayed on the main page. Following are the steps to access the reading settings: Step (1): Click on Setting->Reading option in WordPress. Step (2): The reading settings page is displayed as shown in the following image. Front Page Displays: This Sections is used to display the front page in any of the following format: Your latest posts: It displays latest posts on the front page. A static page: It displays the static pages on the front page. Front Page: You can select the actual page you want to display on first page from the drop down. posts Page: You can select the page from the drop down menu which contains posts. Blog Pages Show at most: The number of posts to be displayed per page or site. By default it is set as 10. Syndication feeds show the most recent: The user can view the number of posts when they download one of the site feeds. By default it is set as 10. For each article in a feed, show: This section is used to display the post by selecting any of the following formats: Full Text: It displays the complete post. It is set as default.Summary: It displays the summary of the post. Search Engine Visibility: After clicking on the checkbox Discourge search engines for indexing this site, your site will be ignore by the search engine. Step (3): After filling all the information click on save changes button to save your Reading Setting information.
The writing settings control the writing experience and provides options for customizing Worpdress site. These settings control the features in the adding and editing pages, posts as well as the optional functions like Remote publishing, post via email and update service Following are the steps to create the writing settings: Step (1): To change writing settings go to settings-> Writing options. Step (2): The writing setting page is displayed as shown in the following screen. Following are the details of the fields on the page. Formatting: This field defines two sub options for better user experience The first option convert emoticons like:- and :-p to graphics on display will turn text-based emoticons into graphics based emoticons. The second option Worpdress should correct invalidly nested XHTML automatically corrects the valid XHTML placed within the posts or pages. Default Post Category: it is category to be applied to a post and you can leave it as uncategorized. Default Post Format: It is used by themes to select post format to be applied to post or create different styles for different types of posts. Post Via Email: This option uses email address to create posts and publishes posts on your blog through email. To use this you’ll need to set up a secret email account with a POP3 access and any mail received at this address will be posted. Mail Server: It allows reading the emails that you send to WordPress and stores theme for retrieval, For this you need to have POP3 compatible mail server and it will have URI address such as mail.example.com, which you should enter here. Login Name: To create posts WordPress will need its own email account. The Login Name will use this email address and should be kept as a secret as spammers will post links redirecting to their own websites. Password: Set password for the above email address. Default Mail Category: It allows selecting custom category for all posts that are published via post by email feature. Update Services: When you publish a new posts WordPress will automatically notify the site update services in the box. See the update services on the codex for the long list of possible service. Step (3): After filling all the above information, click on Save Changes button to save your information.


