
The writing settings control the writing experience and provides options for customizing Worpdress site. These settings control the features in the adding and editing pages, posts as well as the optional functions like Remote publishing, post via email and update service
Following are the steps to create the writing settings:
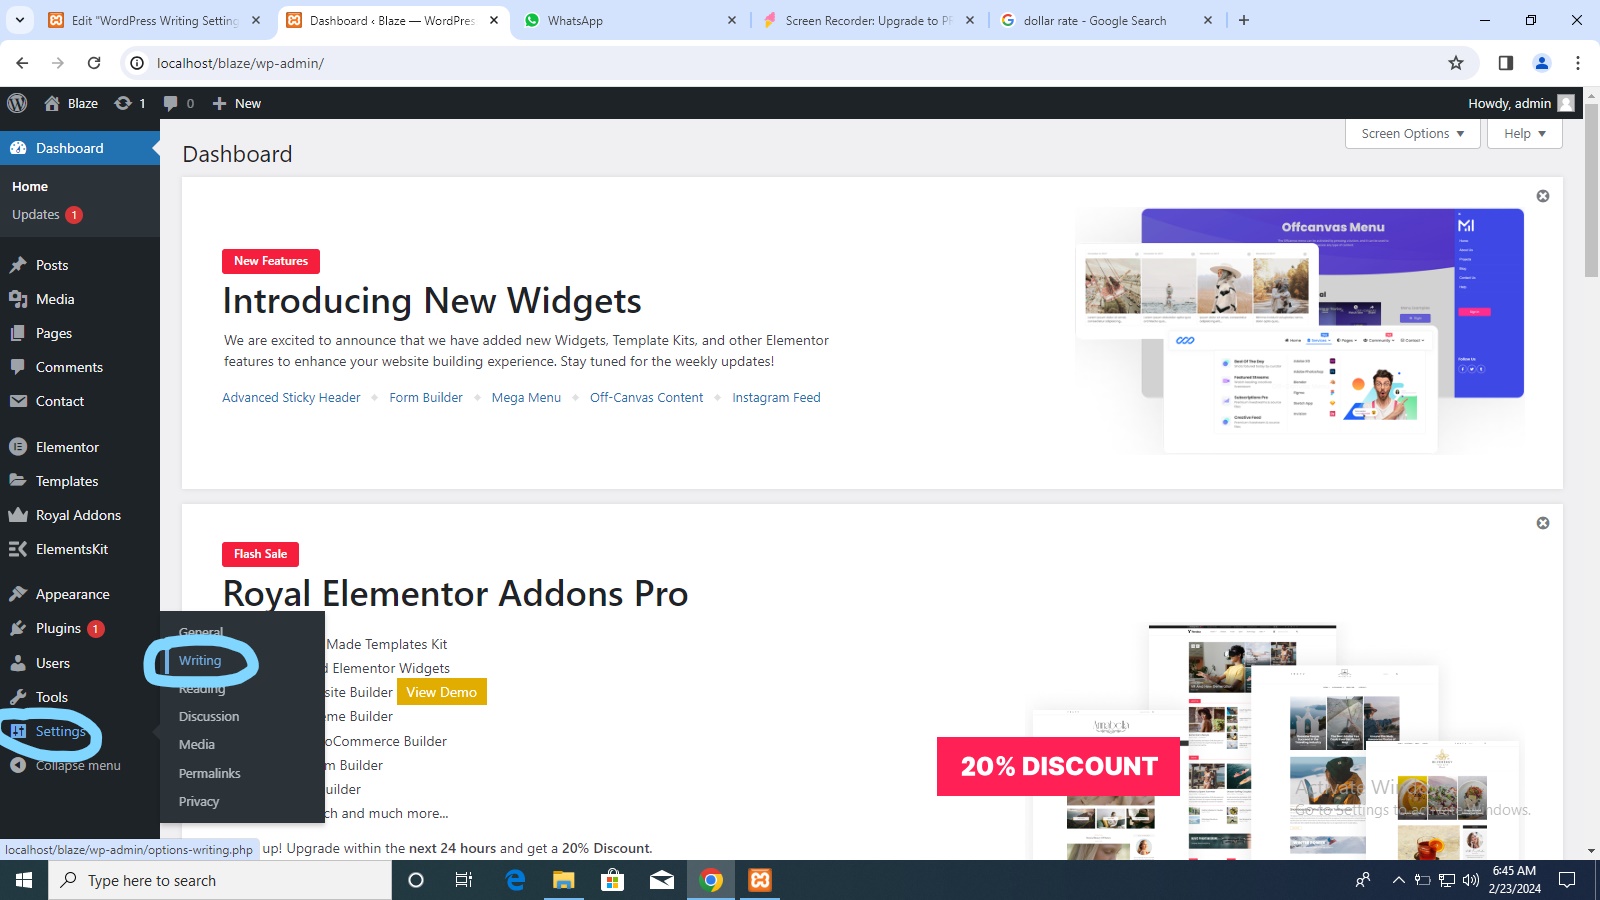
Step (1): To change writing settings go to settings-> Writing options.
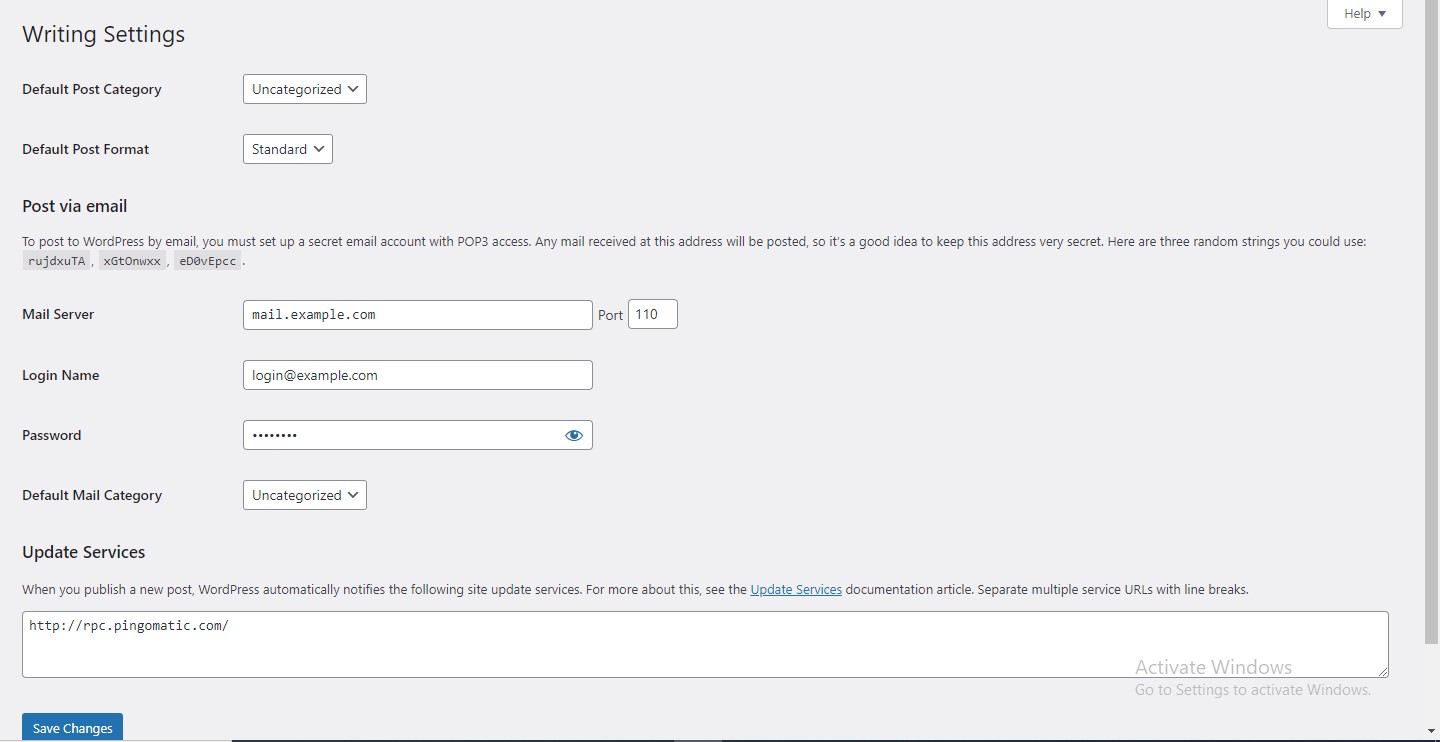
Step (2): The writing setting page is displayed as shown in the following screen.
Following are the details of the fields on the page.
- Formatting: This field defines two sub options for better user experience
- The first option convert emoticons like:- and :-p to graphics on display will turn text-based emoticons into graphics based emoticons.
- The second option Worpdress should correct invalidly nested XHTML automatically corrects the valid XHTML placed within the posts or pages.
- Default Post Category: it is category to be applied to a post and you can leave it as uncategorized.
- Default Post Format: It is used by themes to select post format to be applied to post or create different styles for different types of posts.
- Post Via Email: This option uses email address to create posts and publishes posts on your blog through email. To use this you’ll need to set up a secret email account with a POP3 access and any mail received at this address will be posted.
- Mail Server: It allows reading the emails that you send to WordPress and stores theme for retrieval, For this you need to have POP3 compatible mail server and it will have URI address such as mail.example.com, which you should enter here.
- Login Name: To create posts WordPress will need its own email account. The Login Name will use this email address and should be kept as a secret as spammers will post links redirecting to their own websites.
- Password: Set password for the above email address.
- Default Mail Category: It allows selecting custom category for all posts that are published via post by email feature.
- Update Services: When you publish a new posts WordPress will automatically notify the site update services in the box. See the update services on the codex for the long list of possible service.
Step (3): After filling all the above information, click on Save Changes button to save your information.
